
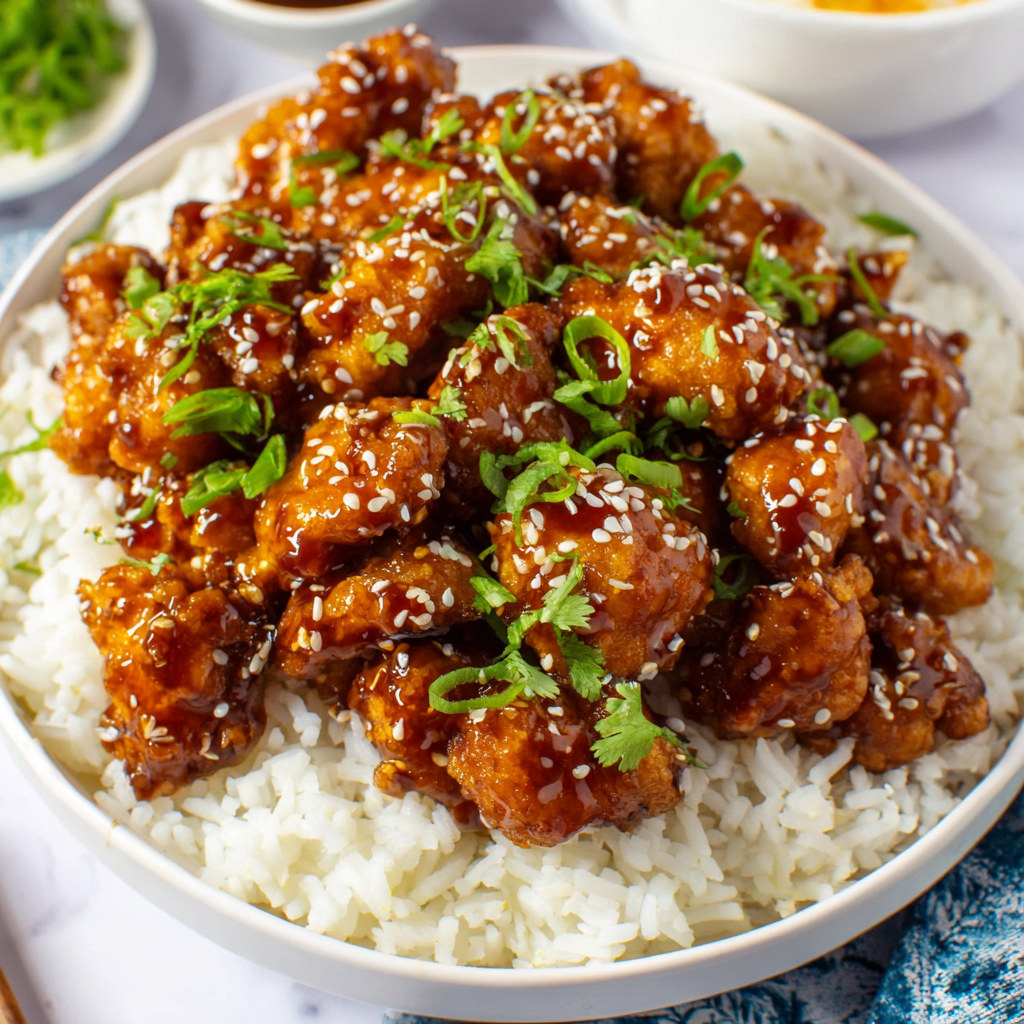
Easy Sesame Chicken

Crispy, sweet-tangy sesame chicken that rivals takeout—ready in 30 minutes and perfect served over steamed white rice.
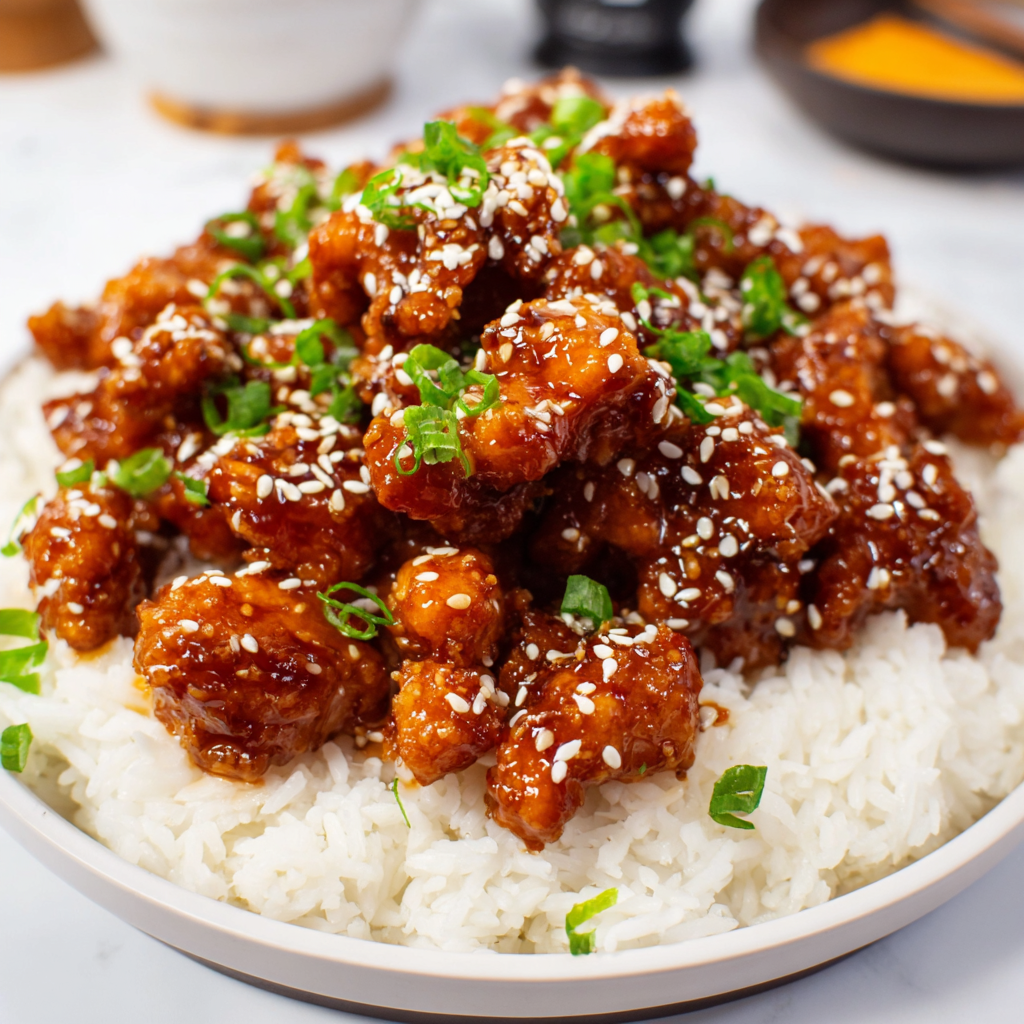
This easy sesame chicken has been my go-to when I want the comfort of takeout without leaving the house. I first developed this version on a busy weeknight when the kids were clamoring for something crispy and sweet; I wanted a shortcut that still delivered on texture and flavor. What makes this preparation stand out is the two-stage frying of the bite-sized chicken thighs, which creates a deep golden crunch that holds up when tossed in the glossy sesame sauce. The sauce itself balances ketchup, sugar, and rice vinegar for a sweet-tangy finish with a hint of umami from soy sauce. The result is a dish with a crisp exterior, juicy interior, and a sauce that clings beautifully to every piece.
I discovered that using boneless skinless thighs—rather than breasts—gives a juicier finish, and the quick marinade with a touch of baking soda makes each bite tender. It’s one of those recipes that brings people to the table: the kids ask for seconds and guests often comment it tastes better than their usual order. Best of all, it’s straightforward: about 10 minutes of active prep and 20 minutes of cooking, so you can have a restaurant-style plate on the table in roughly half an hour.
Why You'll Love This Recipe
- This comes together in about 30 minutes total, making it ideal for busy weeknights when you want something special without a lot of fuss.
- Uses pantry staples—ketchup, sugar, cornstarch, soy sauce—so you rarely need an extra grocery run to make it.
- Double-frying yields a sturdier crisp that stays crunchy even after coating in sauce, perfect for make-ahead prep and reheating.
- The sauce balances sweet and tang with a glossy finish; a touch of dark soy deepens color without changing flavor dramatically.
- Flexible for dietary swaps: you can easily make a gluten-free version with tamari or coconut aminos and keep the same great texture.
From my family table to yours: the first time I served this at a small dinner party, guests fought over the last pieces and asked for the recipe. It’s a crowd-pleaser that’s forgiving in technique but precise in small details—timing the oil temperature and mixing the sauce just before tossing are the little moves that produce big flavor.
Ingredients
- Chicken thighs: 2 pounds boneless, skinless thighs trimmed and cut into 1-inch pieces. Thighs stay juicy and tolerate longer frying better than breast; look for even-sized pieces for consistent cooking.
- Leavening and tenderizing: 1/4 cup water, 1/2 teaspoon kosher salt, and 1/2 teaspoon baking soda mixed with the chicken help break down proteins for a tender interior. If you use fine salt, reduce slightly.
- Binding and crisping: 2 large eggs and 1/2 cup cornstarch form the light batter that fries up ultra-crispy. Cornstarch creates a glassy, crackly crust superior to flour for this style.
- Frying oil: Neutral oil (about 2 to 3 inches in a wok) and 1 tablespoon oil in the marinade to promote even coating and frying. Use vegetable, canola, or peanut oil if no allergy issues.
- Sauce components: 1/2 cup ketchup, 1/2 cup water, 1/2 cup granulated sugar, 2 tablespoons white vinegar, 1 tablespoon cornstarch, 1 tablespoon light soy sauce, and optional 1/2 teaspoon dark soy sauce for color. These create a sticky, glossy glaze that is sweet, slightly tangy, and richly colored.
- Aromatics and garnish: 1 stalk green onion, sliced (whites cooked briefly, greens for garnish) and toasted sesame seeds to finish. The onion adds fresh bite, sesame seeds add nuttiness and visual contrast.
Instructions
Marinate the chicken: In a large bowl, combine 2 pounds of 1-inch chicken pieces with 1/4 cup water, 1/2 teaspoon baking soda, and 1/2 teaspoon kosher salt. Vigorously mix so the water is mostly absorbed—this process helps the baking soda begin to tenderize the meat. Once absorbed, add 2 large eggs and beat until evenly distributed. Sprinkle in 1/2 cup cornstarch and toss until no visible dry streaks remain, then stir in 1 tablespoon neutral oil to bind the coating. Let rest 5 to 10 minutes if time allows for better adhesion. Heat the oil: Use a wok or deep, flat-bottomed pan and add enough oil to reach 2 to 3 inches deep. Heat to 375°F (190°C) on a thermometer; maintaining this temperature is key for crispness and minimal oil absorption. If you don’t have a thermometer, test with a small piece of batter—if it sizzles vigorously and browns in about 30 seconds, you’re in the right range. Prepare the sauce: While the oil heats, whisk 1/2 cup ketchup, 1/2 cup water, 1/2 cup granulated sugar, 2 tablespoons white vinegar, 1 tablespoon cornstarch, 1 tablespoon light soy sauce, and 1/2 teaspoon dark soy sauce (optional) in a bowl or measuring cup. Set aside. The cornstarch will be suspended so give it a quick re-whisk before pouring into the wok later. First fry: Working in batches, gently drop chicken pieces into the hot oil in a single layer—don’t overcrowd. Fry 4 to 5 minutes until pieces are light golden and set. Stir occasionally to keep pieces separate. Remove to a wire rack or paper towels to drain for 2 to 3 minutes. Second fry: Bring oil back to 375°F and return the partially cooked pieces for a second fry of 5 to 6 minutes until deep golden and extremely crisp. The two-stage method gives a crunchy shell that stays crisp under sauce. Drain thoroughly on a rack to avoid sogginess. Finish the sauce and toss: In a clean wok over medium heat add a teaspoon of oil and stir-fry the white parts of the sliced green onion for 10 to 15 seconds until fragrant. Give the reserved sauce another mix and pour into the wok. Increase heat to medium-high and stir constantly as the mixture comes to a boil; the cornstarch will thicken the sauce to a glossy glaze. Once thickened, add the fried chicken and toss quickly to coat evenly. Sprinkle with sesame seeds and the green onion tops and serve at once with steamed white rice.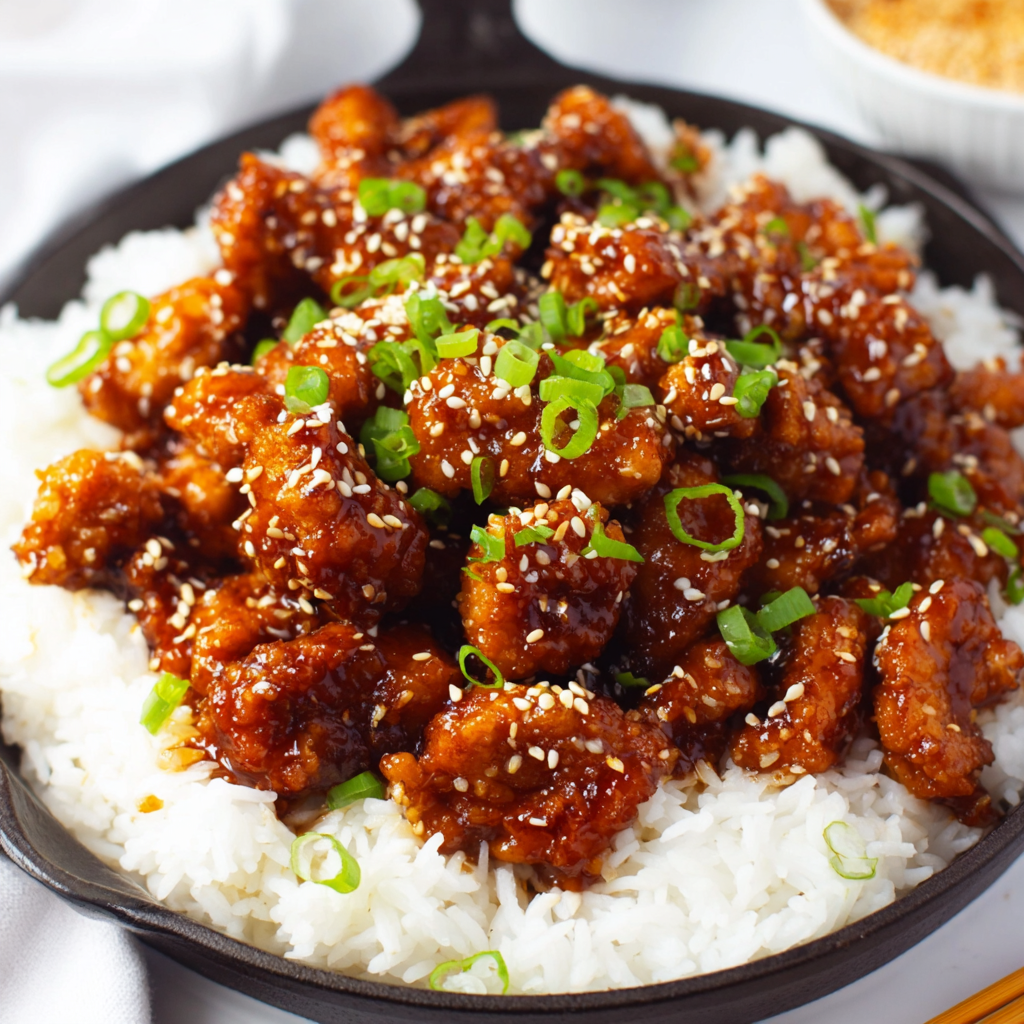
You Must Know
- This dish holds well refrigerated for up to 3 days and freezes for up to 3 months if stored in an airtight container; re-crisp in a 400°F oven for 8 to 10 minutes.
- High in protein and energy—roughly 537 calories per serving—so serve with lighter sides like steamed greens to balance the meal.
- Maintain oil temperature at 375°F for both fry stages to minimize oil absorption and achieve the signature crunchy crust.
- For a gluten-free option, substitute light soy sauce with tamari or coconut aminos and omit dark soy. The sauce color will be paler but the flavor remains delicious.
My favorite part of this preparation is the sound: that audible crackle when the sauce hits the freshly fried chicken. It evokes memories of late-night takeout runs but with the comfort of home-cooked control. Family members often request this for celebrations because it looks and tastes indulgent, yet it’s simple enough to make on a weeknight.
Storage Tips
To store, cool chicken completely at room temperature no longer than two hours then refrigerate in shallow airtight containers for up to 3 days. For longer storage, freeze in a single layer on a baking sheet, then transfer to a freezer bag for up to 3 months; flash-freezing prevents pieces from clumping. Reheat from frozen in a 400°F oven for 12 to 15 minutes, flipping halfway, or thaw overnight in the refrigerator and re-crisp for 8 to 10 minutes. Keep sauce separate if you foresee reheating often to preserve crispness.
Ingredient Substitutions
If you prefer a lighter crust, substitute half of the cornstarch with all-purpose flour—but expect a less glassy crunch. For gluten-free use 100% cornstarch and tamari or coconut aminos in place of soy sauce. To reduce sugar, swap half the granulated sugar for honey or a sugar substitute, but adjust heat and simmer time because honey browns faster. For a citrus twist, add 1 teaspoon fresh orange juice to the sauce to brighten the flavor.
Serving Suggestions
Serve with steamed jasmine rice or a simple fried rice. For a brighter plate, add quick-pickled cucumbers or a crisp Asian slaw with rice vinegar and sesame oil. Garnish with toasted sesame seeds and thinly sliced scallion greens for contrast. This also pairs well with stir-fried baby bok choy or garlic green beans to round out the meal with crunchy vegetables and a splash of freshness.
Cultural Background
Sesame chicken is a popular North American interpretation of Chinese-American cuisine, developed to suit local palates that favor sweeter, saucier dishes. While it does not directly mirror any single regional Chinese specialty, it draws techniques from Cantonese and Sichuan traditions—namely deep-frying and bold sauces. Over decades it has become a staple on takeout menus, beloved for its craveable sweet-salty profile and crunchy texture that contrasts tender chicken inside.
Seasonal Adaptations
In winter, enrich the sauce with a tablespoon of hoisin and a pinch of five-spice for a warmer, more aromatic profile. Spring and summer call for lighter accompaniments—swap out white rice for chilled soba salad or a green mango salad to contrast the sweet glaze. Holiday gatherings can be elevated by plating on a bed of sesame-scented greens and finishing with toasted white and black sesame seeds for drama.
Meal Prep Tips
For meal prep, fry and freeze chicken in meal-sized portions without sauce; portion rice and a vegetable on the side. Freeze sauce in small mason jars or zip-top bags; thaw and reheat sauce in a skillet and toss with reheated chicken to serve. This approach keeps textures optimal and makes it easy to assemble fresh weeknight meals in under 15 minutes.
There you have it—an easy, dependable method to make sesame chicken at home that beats most takeout. Try the technique once and you’ll see why double-frying and the simple sauce chemistry present a reliably delicious result. Enjoy sharing it with family and make it your own with small tweaks—this dish is meant to be joyful, forgiving, and utterly satisfying.
Pro Tips
Maintain oil temperature at 375°F for both fry stages to achieve minimal oil absorption and extra-crispy coating.
Let the chicken rest a few minutes after the first fry to allow the surface to set before second frying—this improves crispness.
Mix the sauce just before using and stir constantly while it comes to a boil to prevent lumps and ensure even thickening.
Flash-freeze fried pieces on a sheet tray before bagging to keep them separate when stored in the freezer.
Use boneless thighs for even juiciness; if using breasts, reduce first fry time by about 1 minute to avoid drying out.
This nourishing easy sesame chicken recipe is sure to be a staple in your kitchen. Enjoy every moist, high protein slice — it is perfect for breakfast or as a wholesome snack any time.
FAQs about Recipes
Do I need a thermometer to fry the chicken?
Yes. For classic crispiness, use neutral oil and maintain 375°F for both fry stages. If you don't have a thermometer, a small batter piece should brown in about 30 seconds when the oil is ready.
How do I reheat leftovers so they stay crispy?
Reheat in a 400°F oven for 8 to 10 minutes to re-crisp. If frozen, reheat 12 to 15 minutes from frozen, flipping halfway.
Tags
Easy Sesame Chicken
This Easy Sesame Chicken recipe makes perfectly juicy, tender, and flavorful steak every time! Serve with potatoes and a side salad for an unforgettable dinner in under 30 minutes.
Ingredients
For the chicken
For the sesame chicken sauce
Instructions
Marinate and coat the chicken
Combine chicken pieces with water, baking soda, and salt. Mix until water is absorbed, add eggs, then cornstarch and oil. Ensure an even coating and let rest 5 to 10 minutes for adhesion.
Heat oil to frying temperature
Heat 2 to 3 inches of neutral oil in a wok or deep pan to 375°F. Use a thermometer to maintain steady temperature during frying to ensure minimal oil absorption.
Fry in two stages
First fry batches 4 to 5 minutes until lightly golden and set. Drain briefly, then return to 375°F for a second fry of 5 to 6 minutes until deep golden and crisp. Drain on a rack.
Make the sauce and finish
Stir-fry green onion whites briefly in a little oil, pour in whisked sauce, bring to a boil while stirring until glossy and thick, then toss the fried chicken to coat evenly. Garnish and serve immediately.
Last Step: Please leave a rating and comment letting us know how you liked this recipe! This helps our business to thrive and continue providing free, high-quality recipes for you.
Nutrition
Did You Make This?
Leave a comment & rating below or tag
@kitchenfunwithmy3sons on social media!
Categories:
You might also like...
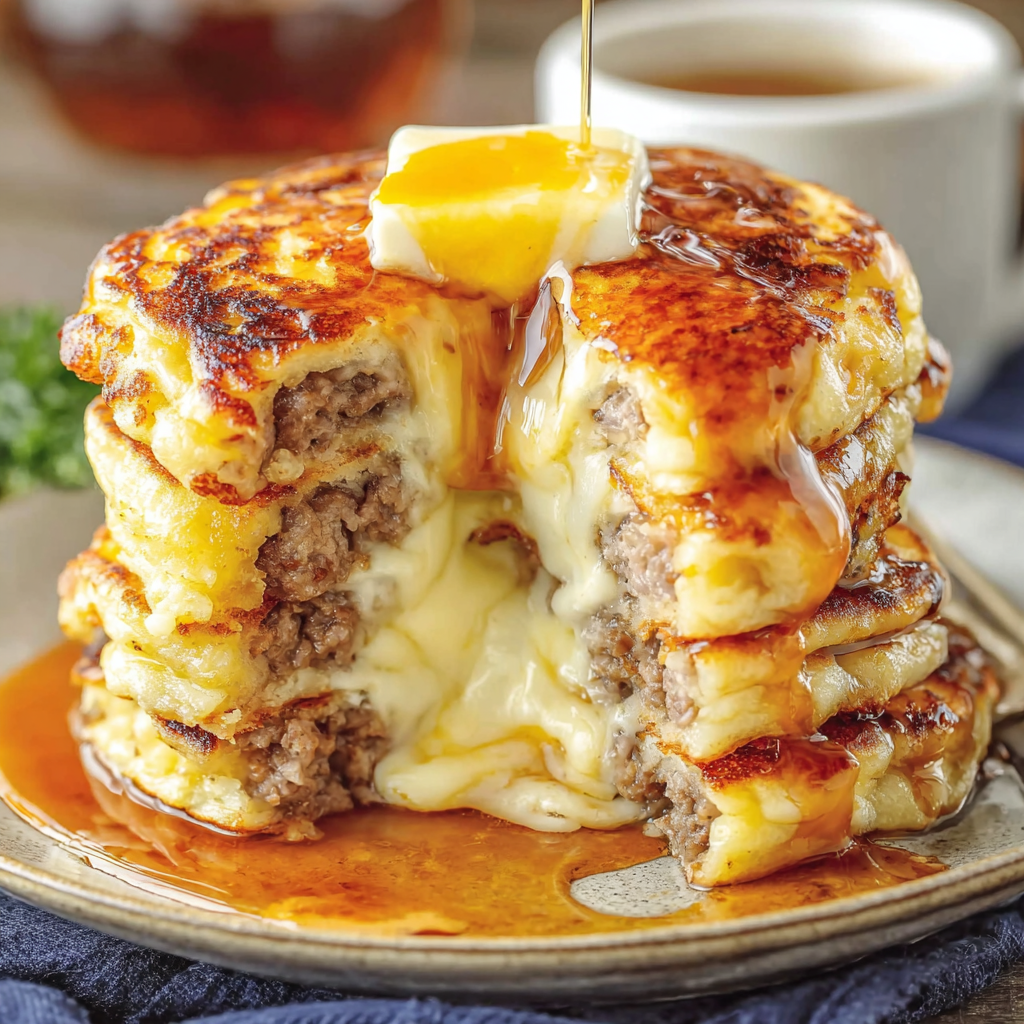
Sausage Dipped Pancakes Delight
Juicy breakfast sausages wrapped in pillowy golden pancakes — a cozy, crowd-pleasing morning treat served with warm maple syrup and fresh berries.
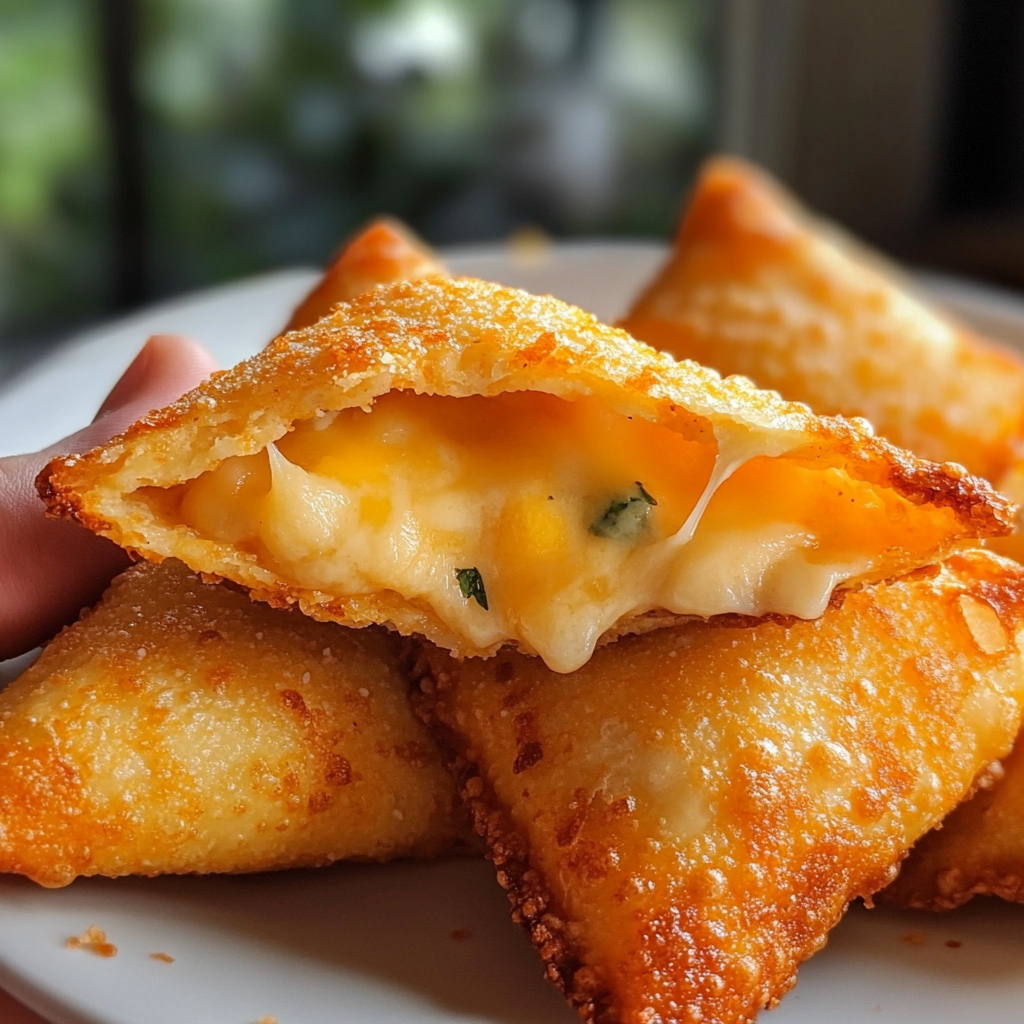
Fried Cheese Stuffed Doritos
Mozzarella sticks coated in crushed Doritos and fried until golden, crunchy, and irresistibly gooey — a crunchy, snackable twist on a classic favorite.
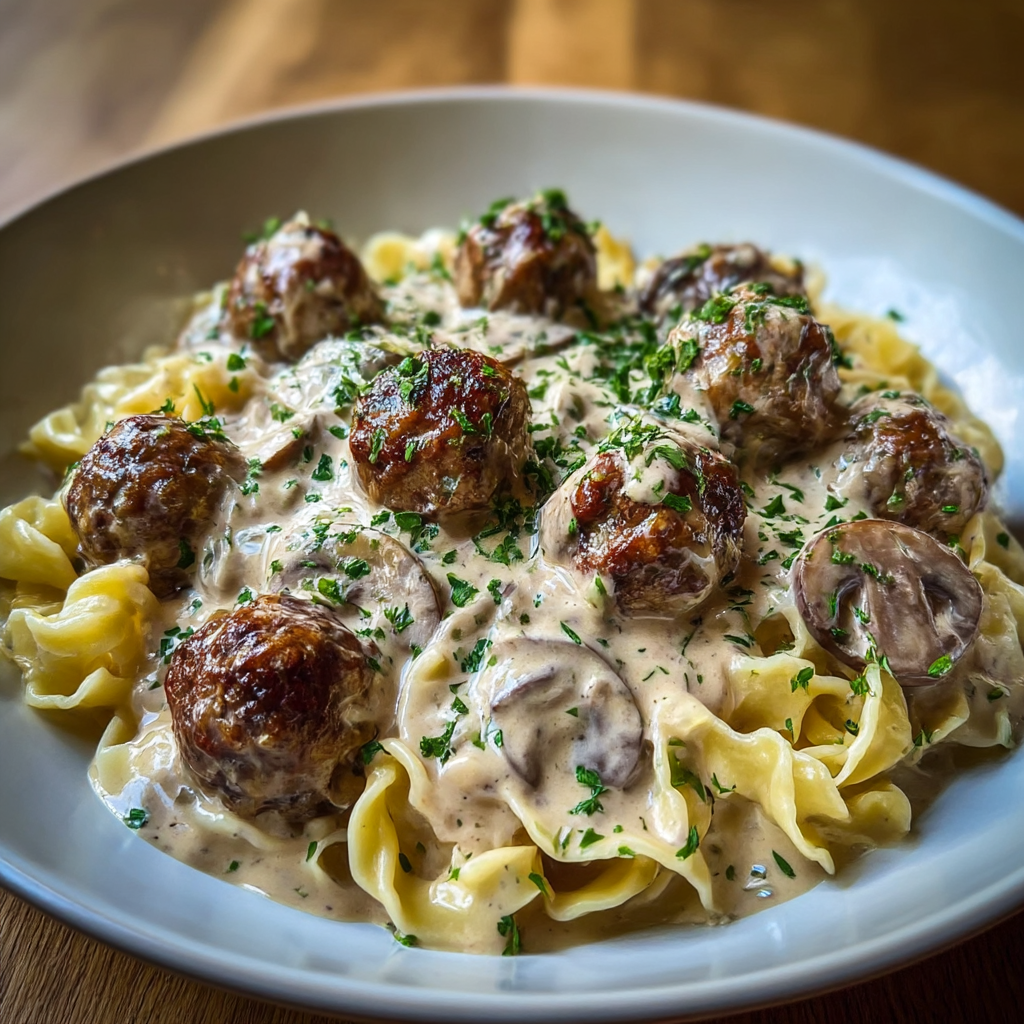
Meatball Stroganoff — Dreamy Cream Sauce
Juicy pan-seared meatballs simmered in a luscious mushroom and sour cream sauce — a comforting stovetop meal inspired by Eastern European flavors.
Did You Make This?
Leave a comment & rating below or tag @kitchenfunwithmysons on social media!
Rate This Recipe
Share This Recipe
Enjoyed this recipe? Share it with friends and family, and don't forget to leave a review!
Comments (1)
This recipe looks amazing! Can't wait to try it.
Comments are stored locally in your browser. Server comments are displayed alongside your local comments.
Hi, I'm Julia!
What's Popular
Get My 30-Minute Meals email series!
Quick and easy dinner ideas delivered to your inbox.